Step 1 – Choose a Tile Base Material
A tile is a tile, right? Well no, not exactly. Most types of tiles look the same, and they can feel similar underfoot, but tiles are made from three distinct base materials. The base material you choose can have an impact on the longevity and maintenance requirements of your tiles.
Bathroom tiles are usually made from one of three base materials:
Ceramic tiles. Ceramic tiles are the gold standard for wet-area tiles. Ceramic requires specialty clays and firing processes that make it almost impervious to moisture. This makes ceramic tiles perfect for use on walls and floors in bathrooms, kitchens, laundries and other wet areas.
Porcelain tiles. Porcelain tiles are a popular option for bathrooms. While untreated porcelain is less moisture-resistant than ceramic, glazed porcelain tiles don’t absorb water, so they are suitable for use in wet areas.
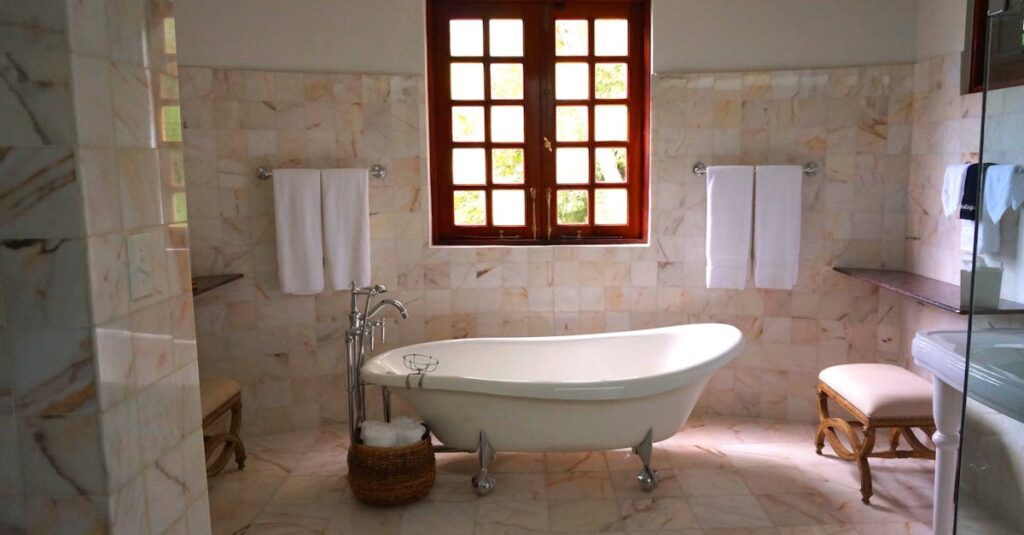
Natural stone tiles. Natural stone such as marble, travertine, limestone and granite look fantastic and can add a touch of luxury to any bathroom. The trade off is that most types of natural stone are porous and prone to absorbing water, dirt, soap and other bathroom products. Natural stone tiles are only suitable for bathrooms if they are sealed. Sealing your tiles prevents them from absorbing liquids and ensures they look good for decades to come.
The good news is that glazed or sealed tiles are all suitable for use in bathrooms and wet areas. You may need to seal natural stone surfaces every 5 years or so, depending on the sealants used.
Step 2 – Opt for Non-Slip Surfaces
For residential applications, tiles are subject to the “Pendulum Test” .
The pendulum test simulates a shoe striking a wet tile and measures the friction. It’s a good test of whether a foot will slip on a tile in bathroom, kitchen or outdoor settings.
Step 3 – Decide on Tile Format and Orientation
Choosing tiles isn’t all about selecting your favorite color. The size, shape and orientation of the tile can also have an impact on the finished product. For instance, large format tiles are a popular choice that look amazing, but the effect may be lost in small bathrooms. Similarly, long and narrow timber-look tiles are a versatile option, and they can be laid to give the illusion of additional space.
If you are working with a small bathroom then we recommend medium format tiles, with details such as penny rounds or finger tiles mixed in. These won’t make the space feel smaller, and they’ll give you some much needed definition and detail.
If you are working with a larger bathroom then we recommend medium or large format tiles. These give the impression of additional space (which can make features like high ceilings really stand out!) and the large format prevents the room from feeling too busy.
Step 4 – Choose Your Colour Palette
We finally come to it! It’s time to choose the colors you want to use in your bathroom. This is often where the design process grinds to a halt. Tiles are available in every color under the sun, and it may be hard to know what to choose.
For starters, it’s hard to go wrong with the classics. White, grey, beige and other neutral colors are a safe bet in every scenario. Neutral colored tiles (which includes most natural stone tiles) can be matched to stainless steel, brass or black tapware and fittings. Lighter shades also lend a sense of brightness to a room that can prevent small bathrooms from feeling cramped.
If you want to go a little more bold, dark greys, blacks and deep timber tones are also a good option. Darker surfaces look sophisticated, especially when they’re offset against lighter tiles, and they can be used to create a moodier atmosphere.
A great way to choose your color palette is to introduce other design elements from your home. Are you using hardwood flooring in the house? You can bring timber elements into the bathroom (such as a vanity) and then choose tiles that match the timber. Or have you opted for black tapware in the kitchen? Continue that trend in the bathroom, and select tiles that match the moodier fittings.
Step 5 – Ask for Tile Samples
It’s one thing to stand in a showroom and look at walls of tiles, but it’s another thing to experience those tiles in your space. Once you’ve narrowed down your selection to a shortlist, feel free to borrow a sample that you can take home. This helps to envision how your space will look with certain surfaces installed and is a great way to simplify the selection process.
Step 6 – Measure Twice Cut Once
Tiles are one of the major investments when it comes to bathroom projects. Ordering the right amount is important for your budget, and it’s important for getting the job done on time.
Measure, double-check, and then re-measure your bathroom to confirm the amount of tiles you’ll need. Don’t forget to take measurements for each separate type of tile you are using. For instance, you’ll need to know how much wall and floor tile to order, but you’ll need separate measurements for feature and splashback tiles.
We recommend measuring the tiled area, rounding up to the nearest whole number and then adding 10% to account for waste during the installation process. If you aren’t confident taking these measurements, talk to our team, or let a professional tiler handle the ordering process.

